First Hour Roof Response: Emergency Roof Tarping for Homeowners
If your roof is unsafe, steep, or shows any sign of structural sag, stay off it and contain the water inside instead. If it’s a dry, walkable, single-story slope with no structural damage, a heavy-duty tarp run over the ridge and anchored with wrapped furring strips can buy you real time. When in doubt, document everything and call a 24/7 emergency tarping crew rather than risk a fall or a botched tarp job.
TL;DR: DIY roof tarping is only suitable for dry, low-pitch, single-story roofs without structural damage and with a helper on the ground. Properly securing a tarp requires wrapping the leading edge around a 2x4 and anchoring with screws into solid roof decking, not just shingles. Storm-damaged or steep, multi-story roofs should always be handled by licensed professionals with proper fall protection equipment. Documented emergency tarp jobs typically cost between $200 and $800, last four to eight weeks, and need regular inspections after wind or rain events. Always prioritize safety first by checking for hazards, photographing damage, and calling professionals if you’re unsure about conditions or stability.
TL;DR:
Speed matters, but order matters more. Rushing straight to the roof before checking for downed power lines or a sagging ceiling has put more people in the emergency room than the storm itself did.
Start inside, not outside. Move furniture and electronics away from active drips, set buckets under leaks, and drape plastic sheeting over anything you cannot move. Then work through this sequence:
Pro Tip: A wet phone camera still works. Wrap it in a sandwich bag before you step outside to shoot photos in active rain.
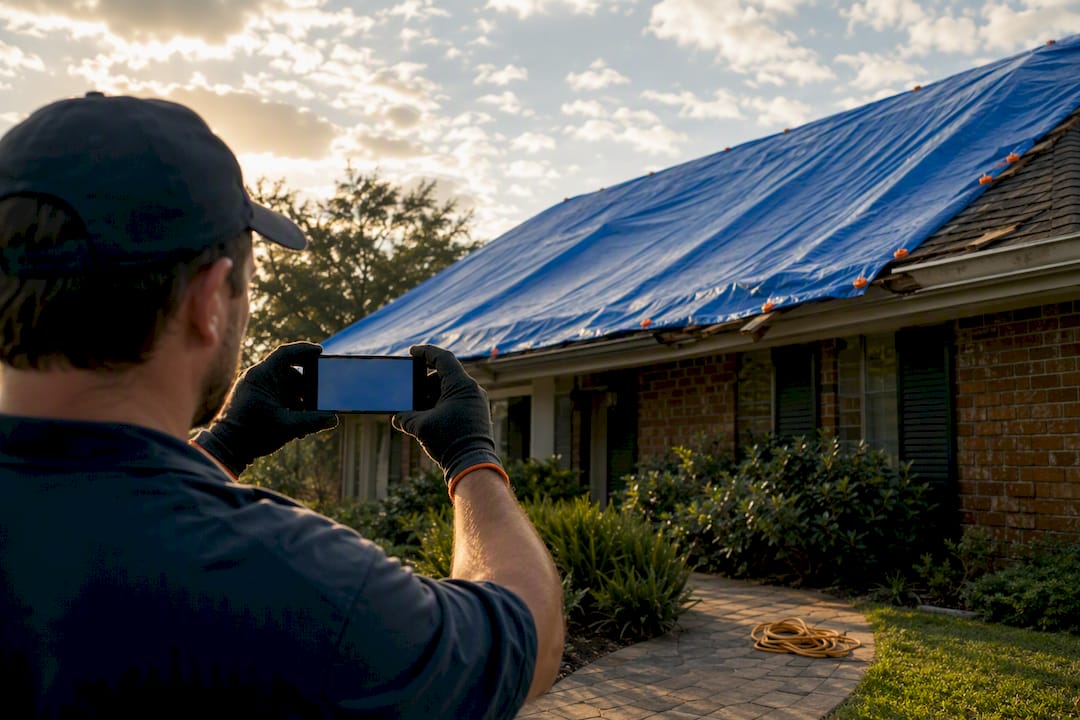
Insurance adjusters weigh documented mitigation heavily. A professional emergency tarp job typically runs $200 to $800 depending on roof height and damage size, and carriers commonly reimburse that cost when it’s backed by photos and an itemized invoice.
DIY tarping only makes sense under a narrow set of conditions. If the roof is dry, low pitch, single-story, and structurally sound, and you have a helper on the ground, you can likely handle it. Anything steeper, taller, or visibly compromised belongs to a professional crew, full stop.
Here’s the sequence SERVPRO and roofing trade guides both point to for a safe, effective temporary fix:
Expect to sacrifice a few shingles in the process. Fastening through existing shingles will damage them, but that’s an accepted trade-off when the alternative is water pouring into your attic. Once the tarp is up, check it after every rain event and every wind advisory for the first two weeks. Grommets pulling loose and edges lifting are the two most common failure points.
Certain conditions take DIY off the table immediately, no exceptions. A second story, a steep pitch, visible sagging in the decking, a tree branch through the roof plane, or damage spread across multiple slopes all call for a licensed crew with fall protection and enough hands to work safely.
OSHA’s fall protection guidance exists precisely because roof falls are among the most common and preventable construction injuries, and a storm-slick, storm-damaged roof multiplies that risk. Professionals also move faster: multiple technicians, pre-cut anchor boards, and proper harnesses mean a crew can often secure a roof in less time than one homeowner working alone, and with far less risk of turning a repair job into an ER visit.
There’s also a documentation advantage. A licensed contractor hands you an itemized invoice and photo record that insurance adjusters recognize, which strengthens your reimbursement claim in ways a DIY receipt for tarp material alone won’t.
Watch for storm-chaser scams in the days after major weather events:
A licensed crew follows a consistent workflow: assess the damage, clear debris, size and position the tarp, anchor it with wrapped boards, then photograph the finished job for your records. That last step matters as much as the tarp itself when it comes time to file a claim, helping with insurance claims.
That $200 to $800 cost range reflects national averages for straightforward jobs; complex or multi-story work runs higher. For your insurance file, keep:
A properly anchored heavy tarp typically holds for four to eight weeks, but that’s a ceiling, not a guarantee. Check it after every significant wind or rain event, and schedule permanent repairs well before that window closes. Tarping is mitigation, not a fix.
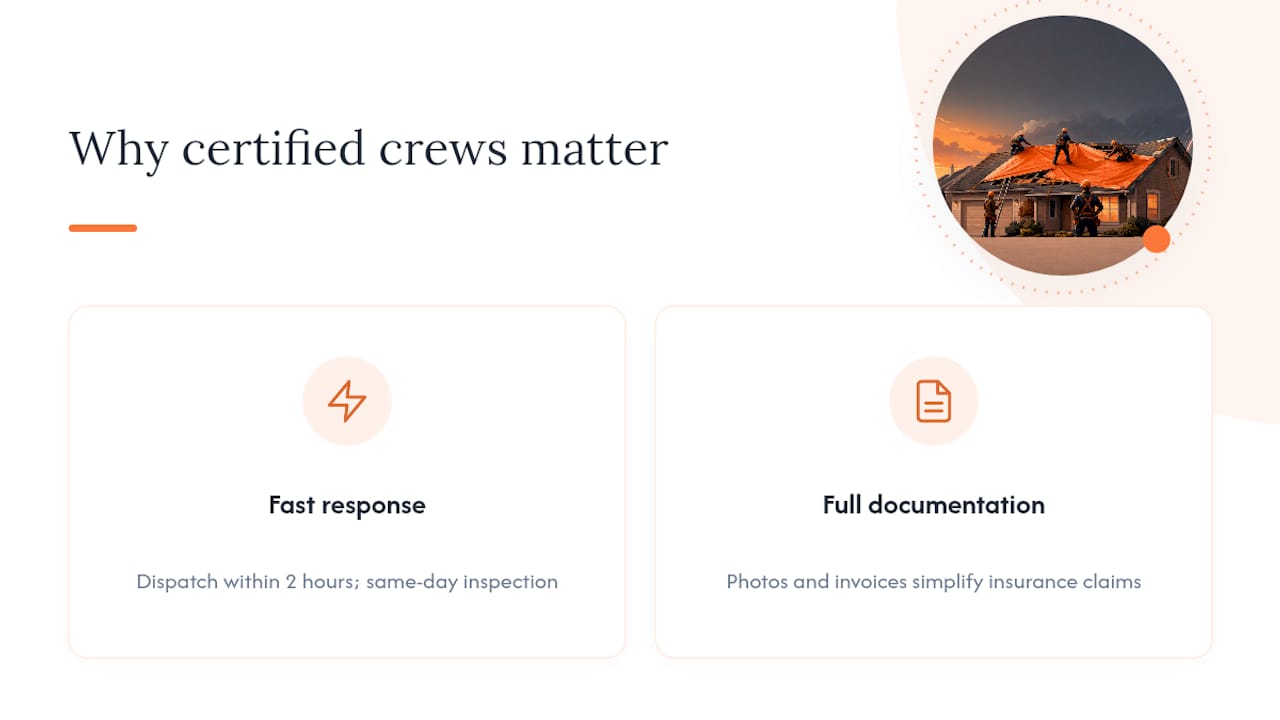
Not every roofer showing up after a storm can back up their promises. Certain emergency roofing services offer free same-day inspections and 24/7 emergency response, sometimes dispatching a crew within two hours of a call.
Those credentials translate directly into better outcomes for you: faster mitigation means less interior damage, and thorough photo and invoice documentation means a smoother path through your insurance claim.
Do trust your gut when a roof feels wrong underfoot, and don’t climb a wet or steep slope to save a service call. Do document before you touch anything. Don’t sign repair contracts with whoever knocks first. When you’re unsure whether it’s safe, treat that uncertainty as your answer: favor documented professional mitigation over a DIY attempt you can’t fully vouch for.
— Rafael
Some professional roofing companies provide Miami-area homeowners with licensed crews on-site quickly, backed by workmanship warranties and industry certifications, to ensure durable tarping and proper claim documentation.
When you call, expect a rapid on-site assessment, a same-day inspection with photo documentation, and an itemized invoice you can hand straight to your adjuster. If the damage goes beyond a temporary fix, the same team coordinates storm-damage repair and insurance support so you’re not juggling separate contractors for mitigation and permanent repair. Request a free same-day inspection now and get your roof secured before the next system rolls through.
Clear debris, position a heavy-duty tarp so it extends at least 4 feet past the damage and crosses the roof ridge, then anchor it using wrapped furring strips screwed into solid decking every 12 to 16 inches. Only attempt this on a dry, walkable, single-story roof with no structural damage; otherwise call a professional.
A professional emergency tarp job typically costs $200 to $800, depending on roof height, pitch, and how much area is damaged. Topfloridaroofing lists Emergency Tarping & Securing at $350 to $800 for a standard job.
If it’s unsafe to access the roof, manage the leak from inside with buckets and plastic sheeting until conditions improve or help arrives. If the roof is safely walkable, a wrapped-furring-strip tarp anchored over the ridge is the most wind-resistant temporary cover available.
A properly anchored heavy-duty tarp typically lasts four to eight weeks, but you should inspect it after every major wind or rain event. Schedule permanent repairs before that window runs out rather than treating the tarp as a long-term fix.
Start with safety: confirm the roof is dry, low-pitch, and free of structural damage before climbing. Then clear debris, size a tarp to extend well past the damaged area and over the ridge, and anchor it with wrapped 2x4 furring strips rather than grommets alone, which tend to tear loose in wind.
Made with BabyLoveGrowth to bring in organic traffic